
How to prepare openings for window on the construction site?
Proper preparation of the installation area is essential to achieving maximum performance and durability of windows and doors. Incorrect preparation can lead to sealing issues, operational problems, and reduced insulation properties. Follow these detailed steps to ensure professional-quality results:
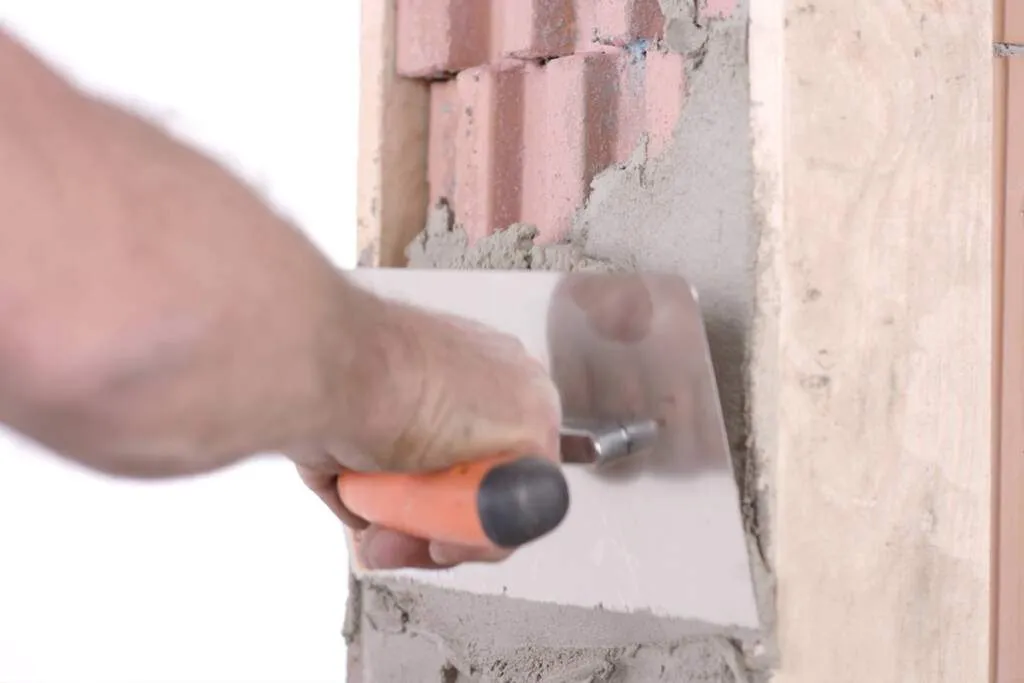
Step 1: Surface Preparation and Cleaning
Begin by thoroughly cleaning the window or door reveal of any loose building materials, dust, debris, or residue from previous work. Ensure the surface is smooth, even, and free of irregularities. Any cracks, holes, or surface imperfections should be filled using an appropriate mortar or filler, designed specifically for your wall material. Smooth and even surfaces are crucial for effective sealing and window operation.
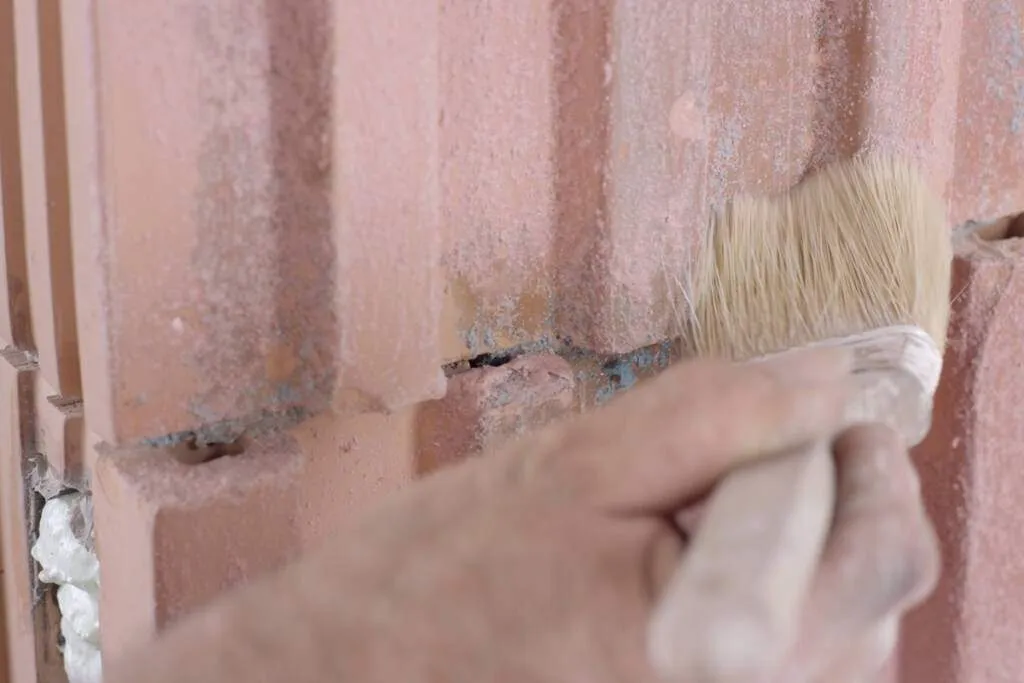
Step 2: Application of Primer and Reinforcement
Next, apply a suitable primer to reinforce and prepare the reveals. Priming is critical for achieving strong adhesion between the sealing materials and the wall surfaces. The primer enhances the bond, prevents future sealant detachment, and promotes longevity of the installation.
TIP: When working with ceramic blocks, particular attention should be paid to sealing the horizontal portion of the recess. Applying mesh combined with adhesive significantly improves sealing performance and prevents unintended ventilation or air infiltration in the future.
Step 3: External Sealing and Vapor-Permeable Tapes
For external sealing, carefully apply vapor-permeable window tape. Before tape application, make sure the external wall surfaces are flat and properly leveled. Level surfaces guarantee better adhesion and optimal performance of sealing tapes, effectively blocking moisture infiltration and maintaining proper ventilation characteristics.
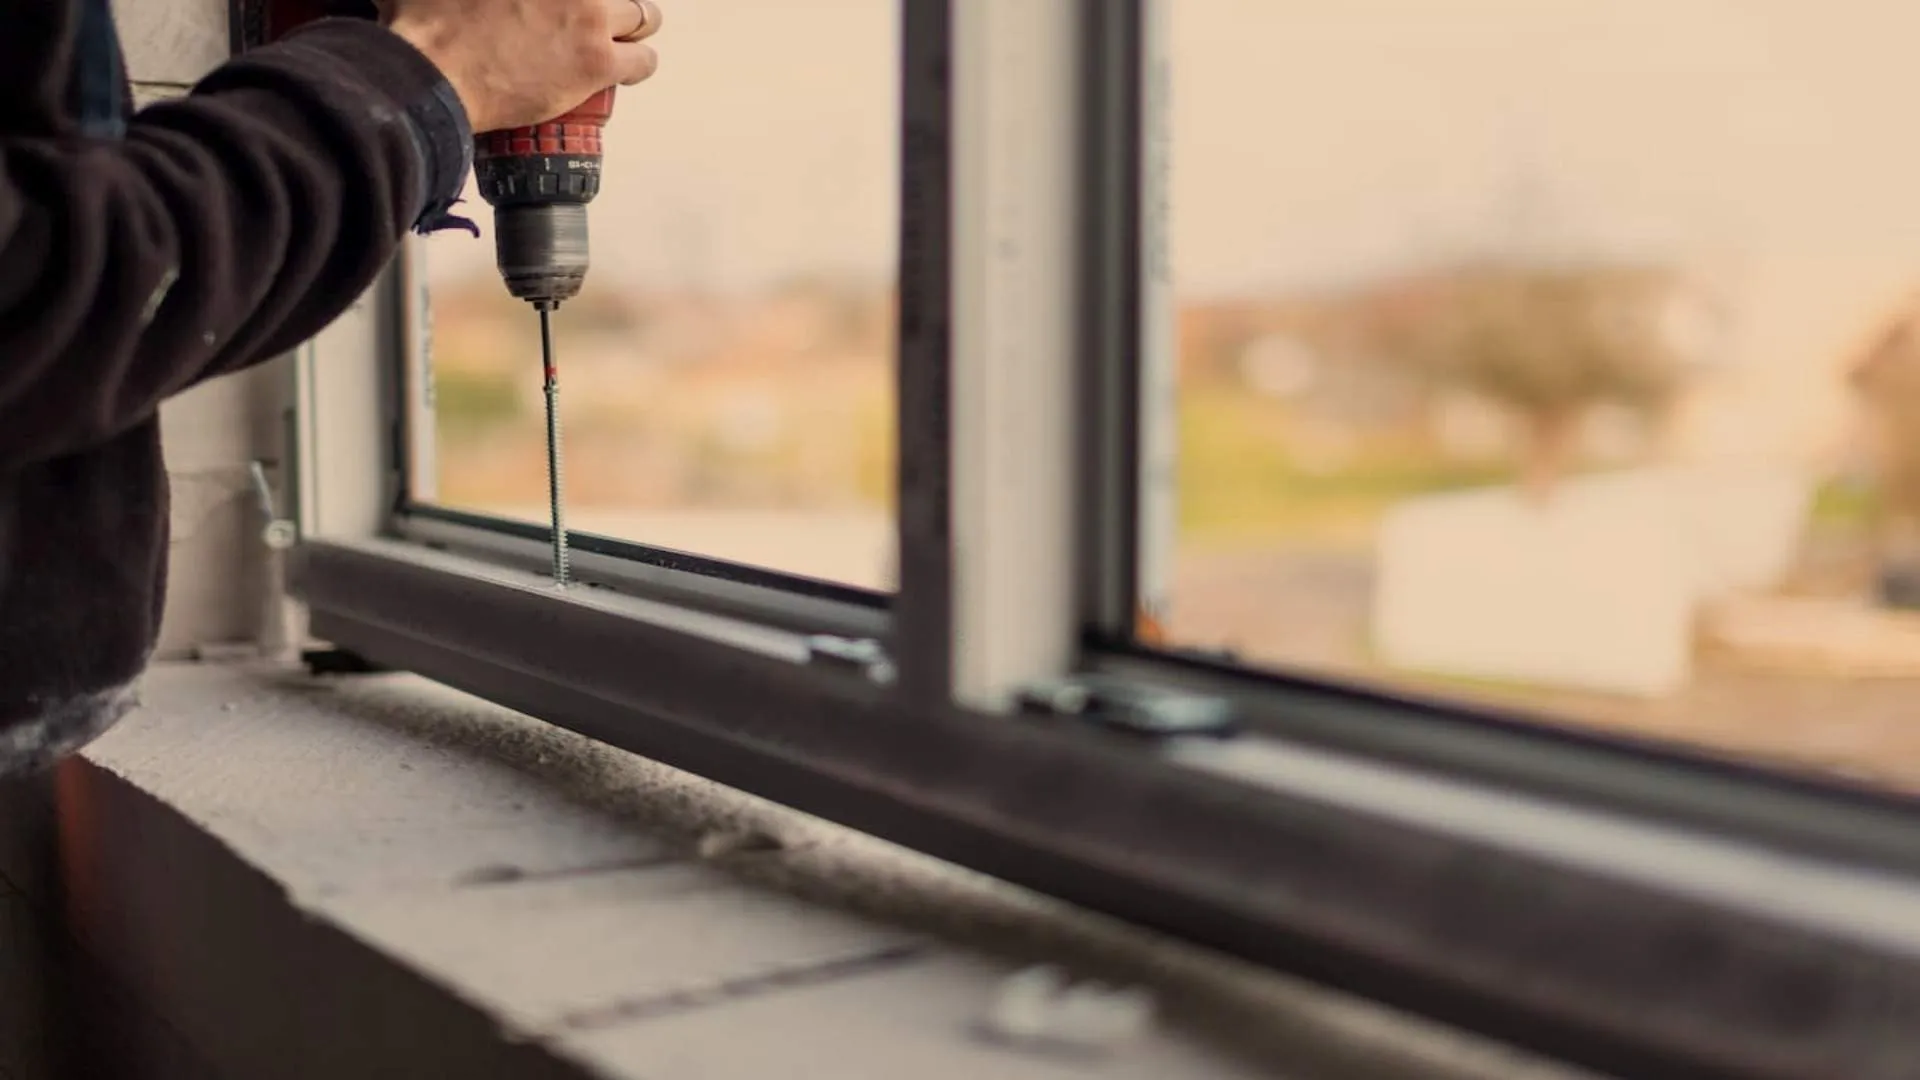
Step 4: Proper Expansion Gap Maintenance
Maintain an appropriate expansion gap between the window frame and wall opening. The correct size depends on the installation type and window recess. The gap should typically not exceed 30 mm. Gaps that are too small can cause deformation of the window frame due to temperature fluctuations, resulting in impaired functionality. Conversely, overly large gaps weaken the window’s mounting structure and reduce overall thermal and acoustic insulation performance.
Step 5: Foundation and System Extensions for Terraces, Sliding Doors, and Balconies
For terrace, sliding, or balcony windows that will be mounted flush with the floor, it is essential to create a solid foundation or use appropriate system extensions. Ensure that thermal sub-window materials, such as warm sills or thermal sub-frames, are properly leveled and installed according to the manufacturer’s guidelines. Properly leveled reveals help avoid future problems with water drainage, heat loss, and operational functionality.
Step 6: Consideration of Recessed Lintels and Roller Shutter Boxes
If your design includes concealed roller shutter boxes, plan the installation of recessed lintels carefully. This approach allows sufficient space for insulation at the roller shutter box height, enhancing the thermal efficiency and aesthetic value of the finished structure.
Importance of Early Planning and Design
The conditions for proper window and door installation should always be considered during the architectural design phase. Early planning helps prevent common problems that often arise during later stages, such as insufficient insulation, improperly sized reveals, or inadequate support for heavy sliding systems. Professional preparation at the design stage ensures trouble-free installation, better long-term performance, and higher customer satisfaction.
Key Takeaways for Successful Installation Preparation:
- Thoroughly clean and even out reveals before window installation.
- Reinforce surfaces with suitable primers for better adhesion.
- Pay special attention to sealing horizontal sections, especially with ceramic materials.
- Maintain correct expansion gaps based on window material and size.
- Properly level foundations for floor-level installations.
- Plan for recessed lintels when installing roller shutter boxes.
Following these guidelines will ensure that your window and door installations meet professional standards, significantly enhancing energy efficiency, thermal comfort, and overall building performance.
❓ FAQ – How to Prepare Openings for Windows on the Construction Site
1. Why is proper preparation of window openings so important?
Correctly preparing openings ensures optimal sealing, insulation, and long-term window operation. Poor prep can lead to drafts, condensation, poor function, and even structural issues over time. (www.tampawindowtint.org)
2. What’s the first step in preparing the opening?
Fully clean the reveal of loose debris, dust, mortar residue, or chunks. Fill any cracks or holes with mortar or suitable filler so the surface is smooth and flat. This ensures good adhesion and tight sealing. (www.tampawindowtint.org)
3. Do I need a primer or reinforcement before sealing?
Yes! Always apply a suitable primer on the reveal—especially with porous materials like ceramic blocks—to strengthen the bond between sealing materials and wall substrates. (www.tampawindowtint.org)
4. How should I seal the exterior before installing the window?
Apply a vapor-permeable, weatherproof tape on the reveal’s exterior. Ensure the surface is flat and dry—this prevents moisture ingress while allowing vapor to escape. (www.tampawindowtint.org)
5. What’s the correct size for the expansion gap?
Maintain an even gap—typically up to 30 mm—around the frame. Too small, and thermal expansion can warp the window; too large, and it undermines insulation and stability. (www.tampawindowtint.org)
6. What about sill preparation for floor-level or balcony windows?
If the window sits flush with a floor or balcony, install a solid base or thermal sub-frame. Make sure it’s perfectly level to ensure proper drainage, prevent thermal bridging, and avoid operational issues. (www.tampawindowtint.org)
7. Is flashing required, and what’s the right order?
Definitely. Install waterproof flashing in this sequence:
- Pan flashing at the sill
- Jamb flashing on the sides
- Head flashing above the window
- Integrate the WRB (weather-resistant barrier), folding and taping it shingle-style over the flashing (iccsafe.org, loewen.com)
8. Should the sill be sloped?
Yes! A slight slope toward the outside is essential for water drainage. Not sloping the sill correctly can cause water pooling and damage over time.
9. Any advice from real contractors or homeowners?
From r/HomeImprovement:
“Prep the window openings so the installers can easily and properly air and water seal the windows… Remove any old caulking/sealants, measure the openings and note if any are out of square…” (reddit.com)
Prior inspection and preparation make installation smoother and more reliable.
10. Who should do this work—me or a pro?
This work directly affects performance, so for best results have a qualified installer do it—preferably certified by the window manufacturer. Ensure they follow the specific prep steps—you can even check off each stage.
✅ Quick Prep Checklist
- Sweep and clean reveal; fill cracks
- Apply primer for adhesion
- Install wet/dry exterior flashing tapes
- Confirm even 30 mm gap around frame
- Check sill is sloped and insulated for drainage
- Flash sill → jambs → head → wrap WRB shingle-style
- Have certified installer verify all steps
🔍 Related Articles – Learn More
- 🛠️ 7 most common window installation mistakes
Identify common pitfalls during window installation and learn how to avoid them to ensure optimal performance and longevity of your windows. - 📐 What are the steps to install windows?
Discover a step-by-step guide to window installation, ensuring proper techniques and materials are used for maximum efficiency. - 🌿 Correct installation of energy-efficient windows
Learn about the importance of proper installation methods to maximize the benefits of energy-efficient windows. - 🧼 How do I safely remove installation foam without damaging the window?
Find out how to clean up excess installation foam effectively without harming your window frames. - 🪟 Fittings – the heart of a functional window
Understand the role of quality fittings in ensuring the functionality and durability of your windows.
Window Rough Opening Prep and Flashing 19913776.fm
Window Rough Openings: A Complete Guide Woodland Windows & Doors